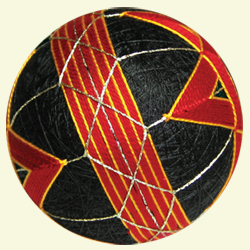
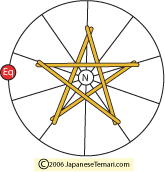
Red Hot Star
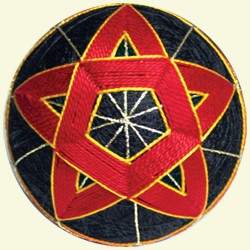
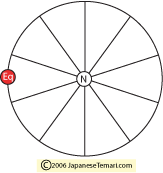
The red star outlined with dark yellow is striking against a black background. To divide the temari into a simple 10, you will need to place ten pins around the equator. Instead of a paper strip, this time use a centimeter tape measure. Measure the equator and divide by 10. Place the pins this distance apart and wrap the guidelines as before.
Stitch a 5-pointed star just the same as if you were drawing it on a piece of paper, adding rows outward as you go.
Supplies
Temari wrapped in black thread (10 5/8 inches or 27 centimeters circumference). The circumference is the distance around the outside of the ball. You can make a smaller temari or a larger temari with these same directions. You would just need to stitch fewer or more rows.
- YLI Candlelight Metallic Yarn - gold
- Anchor perle cotton #5:
#298 dark jonquil (dark yellow)
#47 (carmine red)
Step 1
Using the gold metallic thread, mark the ball in a simple 10 division.See Japanese Temari: A Colorful Spin on an Ancient Craft.
Step 2
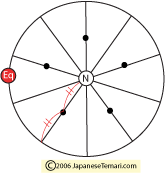
Place pins halfway between the north pole and the equator on every other guideline.
Step 3
Stitch a 5-point star:
Anchor 298 - 1 row
Anchor 47 - 9 rows
Anchor 298 - 1 row.
Step 4
Begin the obi by wrapping 3 rounds of red on either side of the gold metallic line.See Japanese Temari, A Colorful Spin on an Ancient Craft.
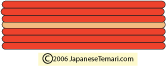
Step 5
To outside of red band on both sides add: 1 round yellow, 3 rounds red, 1 round yellow, 3 rounds red, 1 round yellow.
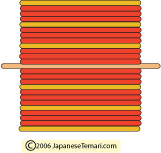
Step 6
Finish ball by stitching a double herringbone with gold thread across the obi.